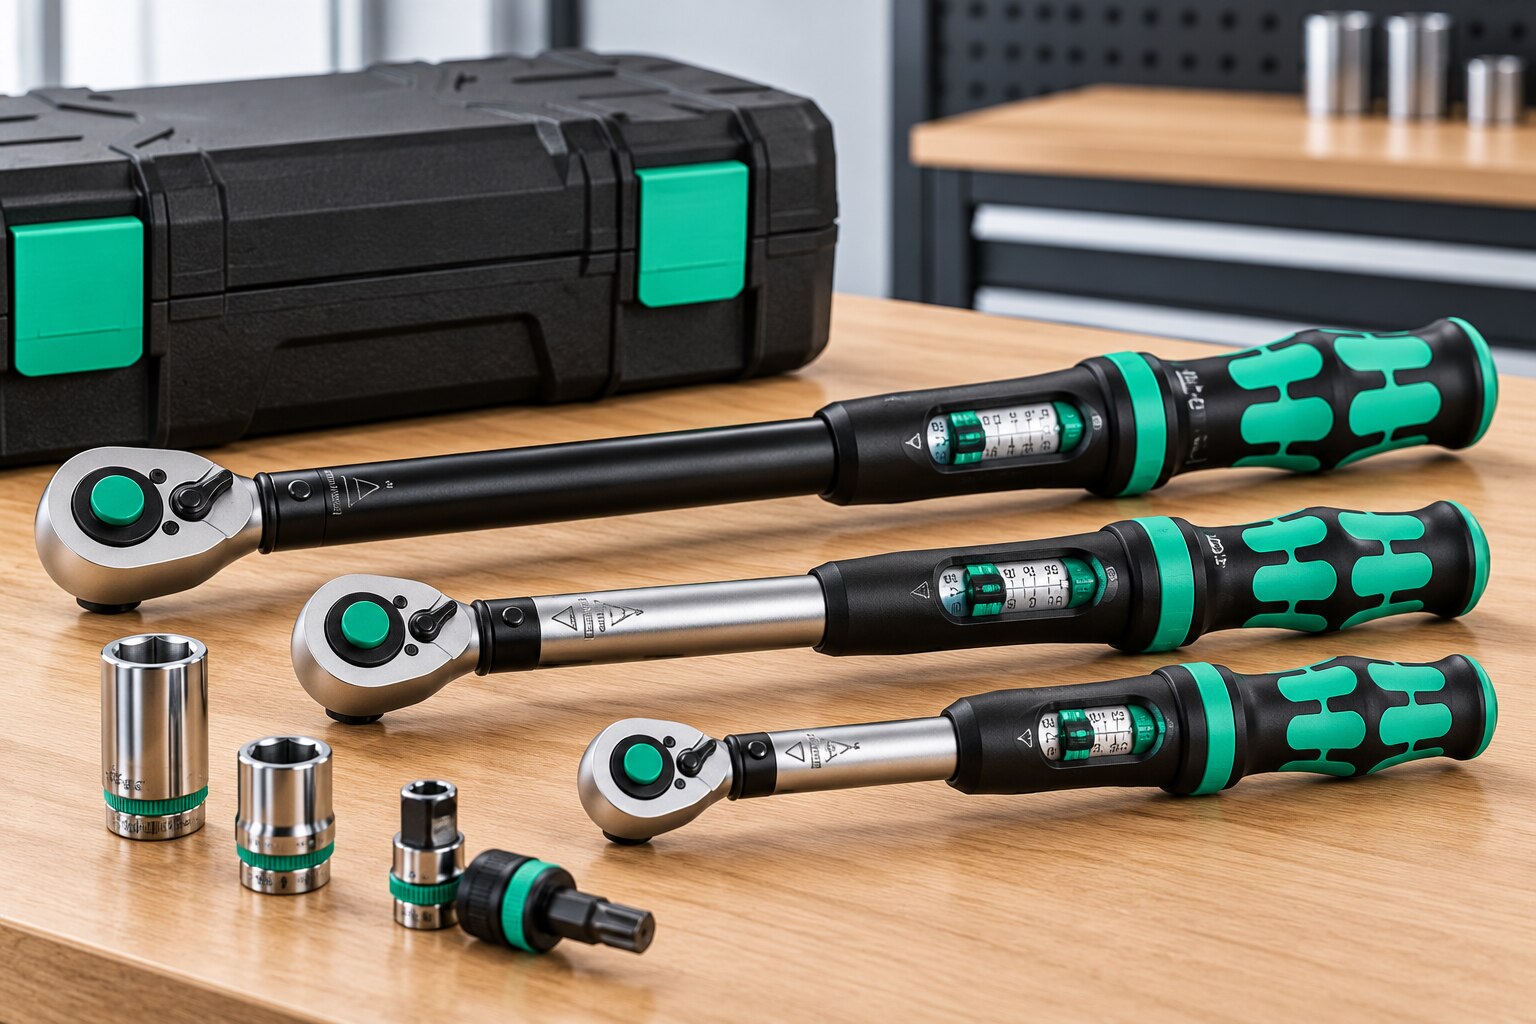
Choose the wrench from the joint’s specified tightening torque, then confirm that its range, drive or insert interface, units, access and calibration records fit the job. By the end, you will be able to compare the available WERA ranges, set and use the tool correctly, and specify the evidence needed for quality-critical fastening.
Key takeaways
- Match the wrench range to joint torque, not socket drive size.
- Use ratchets for standard access and 14×18 mm inserts for specialised joints.
- Pull smoothly from the marked grip position and keep the wrench aligned.
- Request ISO 6789 documentation and review calibration dates and test points.
Start with the Joint Torque, Not the Drive Size
A joint specified at 30 Nm needs a WERA torque wrench range that places 30 Nm comfortably between its limits, not one selected because the fastener takes a 1/2-inch socket. Avoid setting the target at the scale’s minimum or maximum, where reading and setting errors leave less practical margin.
For very low torque, compare a torque screwdriver or torque driver by range, resolution, repeatability and bit interface instead of choosing the smallest wrench that accepts a socket.
| Range | Selection guidance | Drive-size context |
|---|---|---|
| 2.5–25 Nm | Small precision joints; reject it for a 30 Nm specification. | Often paired with compact tooling; verify the model. |
| 10–50 Nm | Joints around 20–40 Nm with useful margin. | 3/8 inch suits small assemblies and restricted access. |
| 20–100 Nm | General light industrial and automotive work. | 3/8 inch or 1/2 inch, depending on the model. |
| 40–200 Nm | Medium industrial and automotive fasteners. | 1/2 inch is common; check the socket rating. |
| 80–400 Nm | Large assemblies and high-load joints. | 3/4 inch is appropriate when the wrench and socket are rated for it. |
| 200–1,000 Nm | Very high-torque industrial fastening. | Use 3/4 inch or the specified interface; never infer capacity from drive size. |
Use a breaker bar to loosen seized fasteners. Impacts, breakaway loads and extensions can damage the mechanism. Validate any universal joint, angle adapter or extension as a complete assembly, and standardize lubrication, coatings and thread condition because torque readings control turning torque, not final bolt preload.
Choose Between Ratchets and 14×18 mm Insert Tools
A ratchet is the practical choice when the joint accepts a standard socket and access allows the handle to swing. Choose a 3/8-inch torque wrench for compact assemblies and smaller sockets, a 1/2-inch torque wrench for automotive and general industrial work, or a 3/4-inch torque wrench for larger sockets and high-torque joints.
In every case, match the wrench’s stated working range to the target torque and check the socket’s torque rating; drive size alone does not set a safe limit.
| Option | What it provides | When it applies |
|---|---|---|
| 3/8-inch ratchet | Standard socket drive with compact access | Small assemblies, instruments, and lighter mechanical joints |
| 1/2-inch ratchet | Versatile socket compatibility | Automotive service and general industrial fastening |
| 3/4-inch ratchet | Larger socket interface and greater mechanical capacity | High-torque joints, heavy equipment, and large fasteners |
| X 4 insert tool | 14×18 mm interchangeable insert interface | Restricted access or specialist fittings that a socket cannot reach |
| X 6 insert tool | 14×18 mm interchangeable insert interface for its specified range | Larger or higher-torque work requiring a compatible insert |
Use the WERA X 4 insert tool design when a crowfoot, ring, open-end, or other specialist insert can align with the fastener. Buy the exact 14×18 mm inserts required; an insert tool is not a complete socket set.
Select X 4 or X 6 by torque range, insert rating, and clearance, then keep the target away from the wrench’s minimum and maximum settings.
Set, Position and Pull the Wrench Correctly
A correct setting produces a reliable result only when the wrench, accessory, grip and pull remain controlled. Read the torque wrench operating instructions before use, then confirm the wrench is within its working range and the socket matches the fastener and drive.
- Unlock the handle, set the required value on the scale, and lock it. For an imperial specification, perform the N·m to lbf·ft conversion before setting the wrench; 1 N·m equals 0.73756 lbf·ft.
- Fit the correct socket or insert fully. Keep your hand on the marked grip position, hold the wrench square to the fastener, and pull smoothly until the first click.
- Stop immediately after release. A second pull or added force can overshoot the joint torque, especially on a low-friction fastener.
- Use a separate breaker bar for seized fasteners. Breakaway loads, impacts and overloads can damage the mechanism even when the wrench still clicks.
A crowfoot adapter torque correction is necessary when the adapter extends the effective length in line with the wrench. Set the wrench to target torque multiplied by wrench length divided by wrench length plus adapter extension. A 90-degree adapter position normally avoids this correction; verify that the geometry stays at 90 degrees.
Validate any extension, universal joint or angle adapter as a complete assembly. Flexing or friction can reduce repeatability. For torque-plus-angle joints, apply the specified torque first, mark the fastener, then rotate the stated angle with the specified method. Return an adjustable wrench to its lowest marked setting, never below it, for storage.
Read ISO 6789 Claims and Calibration Records Carefully
DIN EN ISO 6789-1:2017-07 establishes requirements for the design and conformance testing of hand-operated torque tools. It does not, by itself, prove that your individual wrench was recently calibrated.
A statement that a wrench is “calibrated to ISO 6789” is incomplete unless it identifies the applicable part and supporting records; ISO 6789-2:2017 covers calibration and determination of measurement uncertainty.
For an industrial torque wrench calibration certificate, require:
- The manufacturer, model, serial number, and tool identification
- The calibration date and the laboratory or technician responsible
- Applied measurement points across the relevant torque range
- Results at each point, including pass/fail limits
- Test direction, such as clockwise or counterclockwise
- The reference equipment used and its traceability
- Measurement uncertainty stated with the results
- The applicable method or standard, specifically ISO 6789-2:2017 where claimed
A factory accuracy statement describes the tool’s specification; it is not a current certificate for your serial-numbered wrench. Miracle Tools And Tackle LLP can use this distinction when checking supplier documents for a Wera purchase: reject a generic leaflet when your quality file requires tool-specific evidence.
If you use an extension, universal joint, angle adapter, or specialist insert, verify the complete wrench-and-accessory assembly. The wrench certificate does not automatically cover altered geometry, and a flexing joint can add friction and reduce repeatability. Record that setup separately for a quality-critical joint.
Related products
 | TORQUE WRENCH 05075610001 TORQUE WRENCH WITH REVERSIBLE RATCHET 10-50NM 3/8" ₹31000 Click-Torque wrench in the unmistakable, robust Wera design with high accuracy as per DIN EN ISO 6789-1: 2017-07. View product → |
 | Wera Torque wrench Wera - Click-Torque E 1 Torque Wrench with Reversible Ratchet - 3/4 200-1000nM 05075630001 ₹18898 Overview With 3/4" square drive, reversible ratchet, 45 teeth. View product → |
Build a Selection and Verification Routine for Production
Choose a wrench whose target torque sits comfortably inside its working range, not at the minimum or maximum. A 20–100 Nm model suits a 60 Nm joint better than a 10–50 Nm model, even though the latter nominally covers lower values.
For very low torque, use a torque screwdriver or low-range torque driver; compare resolution, repeatability and bit interface, not just socket compatibility.
A preset torque wrench is the safer choice for a high-volume station with one approved torque because it removes routine setting and readback errors. Use an adjustable Click-Torque wrench when technicians must service several documented torque values, but control every change.
- Store an adjustable wrench at its specified storage setting, normally the lowest marked value, never below the minimum. This reduces spring stress but does not replace calibration.
- Verify production tools at defined intervals and after a drop, overload, repair or abnormal result. Record the tool’s serial number, date, applied torque points, direction, readings and acceptance decision.
- Set the torque wrench calibration interval from cycle count, torque level, contamination, temperature, handling and your quality system. High-cycle tools need a tighter verification and recalibration programme than occasional-use tools.
- Keep a traceability record linking the wrench to its calibration certificate, operator and workstation. Request measurement uncertainty, equipment traceability and the individual tool’s calibration date; a general factory accuracy statement is not enough.
Frequently asked questions
How do you choose a WERA torque wrench range?
Start with the joint’s specified torque. Choose a range that places the target comfortably between the wrench’s lower and upper limits, rather than selecting by drive size alone.
When should you choose a 14×18 mm insert tool instead of a ratchet?
Choose a ratchet for standard sockets and common fastener access. Choose a 14×18 mm insert tool when the joint requires a specialised open-end, ring, or other interchangeable head.
How should you position and pull a torque wrench?
Set the required torque, place your hand on the marked grip area, keep the wrench aligned with the fastener axis, and pull smoothly until the release or signal occurs.
What should you check in ISO 6789 and calibration records?
Check the stated ISO 6789 edition or claim, calibration date, certificate identification, tested torque points, measured results, and the next verification date.
How do you build a torque-wrench verification routine for production?
Record each wrench’s identification, range, assigned workstation, calibration status, and verification results; inspect settings before use and quarantine tools that fail checks.
Related products
 | Wera Torque wrench Wera - Click-Torque A 5 torque wrench with reversible ratchet 2.5-25 Nm - 05075604001 ₹22931 Article description Click-Torque wrench in the unmistakable, robust Wera design with high accuracy as per DIN EN ISO 6789-1: 2017-07. View product → |
 | Wera - Click-Torque X 4 Torque Wrench for Insert Tools 14X18mm 40-200 Nm 05075654001 ₹26083 Click-Torque wrench in the unmistakable, robust Wera design with high accuracy as per DIN EN ISO 6789-1: 2017-07. View product → |
 | Wera Torque wrench Wera - Click-Torque B 1 torque wrench with reversible ratchet, 10-50 Nm - 05075610001 ₹24365 Article description Click-Torque wrench in the unmistakable, robust Wera design with high accuracy as per DIN EN ISO 6789-1: 2017-07. View product → |
 | Wera Torque wrench Wera - Click-Torque X 6 Torque Wrench for Insert Tools 14X18mm 80-400 Nm 05075656001 ₹57040 Article description Click-Torque wrench in the unmistakable, robust Wera design with high accuracy as per DIN EN ISO 6789-1: 2017-07. View product → |